
Portable air conditioners are one of the most flexible cooling solutions you can buy: no permanent installation, no landlord approval, just plug-in comfort wherever you need it. But there is one non-negotiable step: you have to vent them.
The good news? Venting a great portable AC takes about 15 minutes and requires no tools. This guide walks you through the entire process, from choosing where to vent to sealing the opening for maximum efficiency, so your unit runs at peak performance all summer.
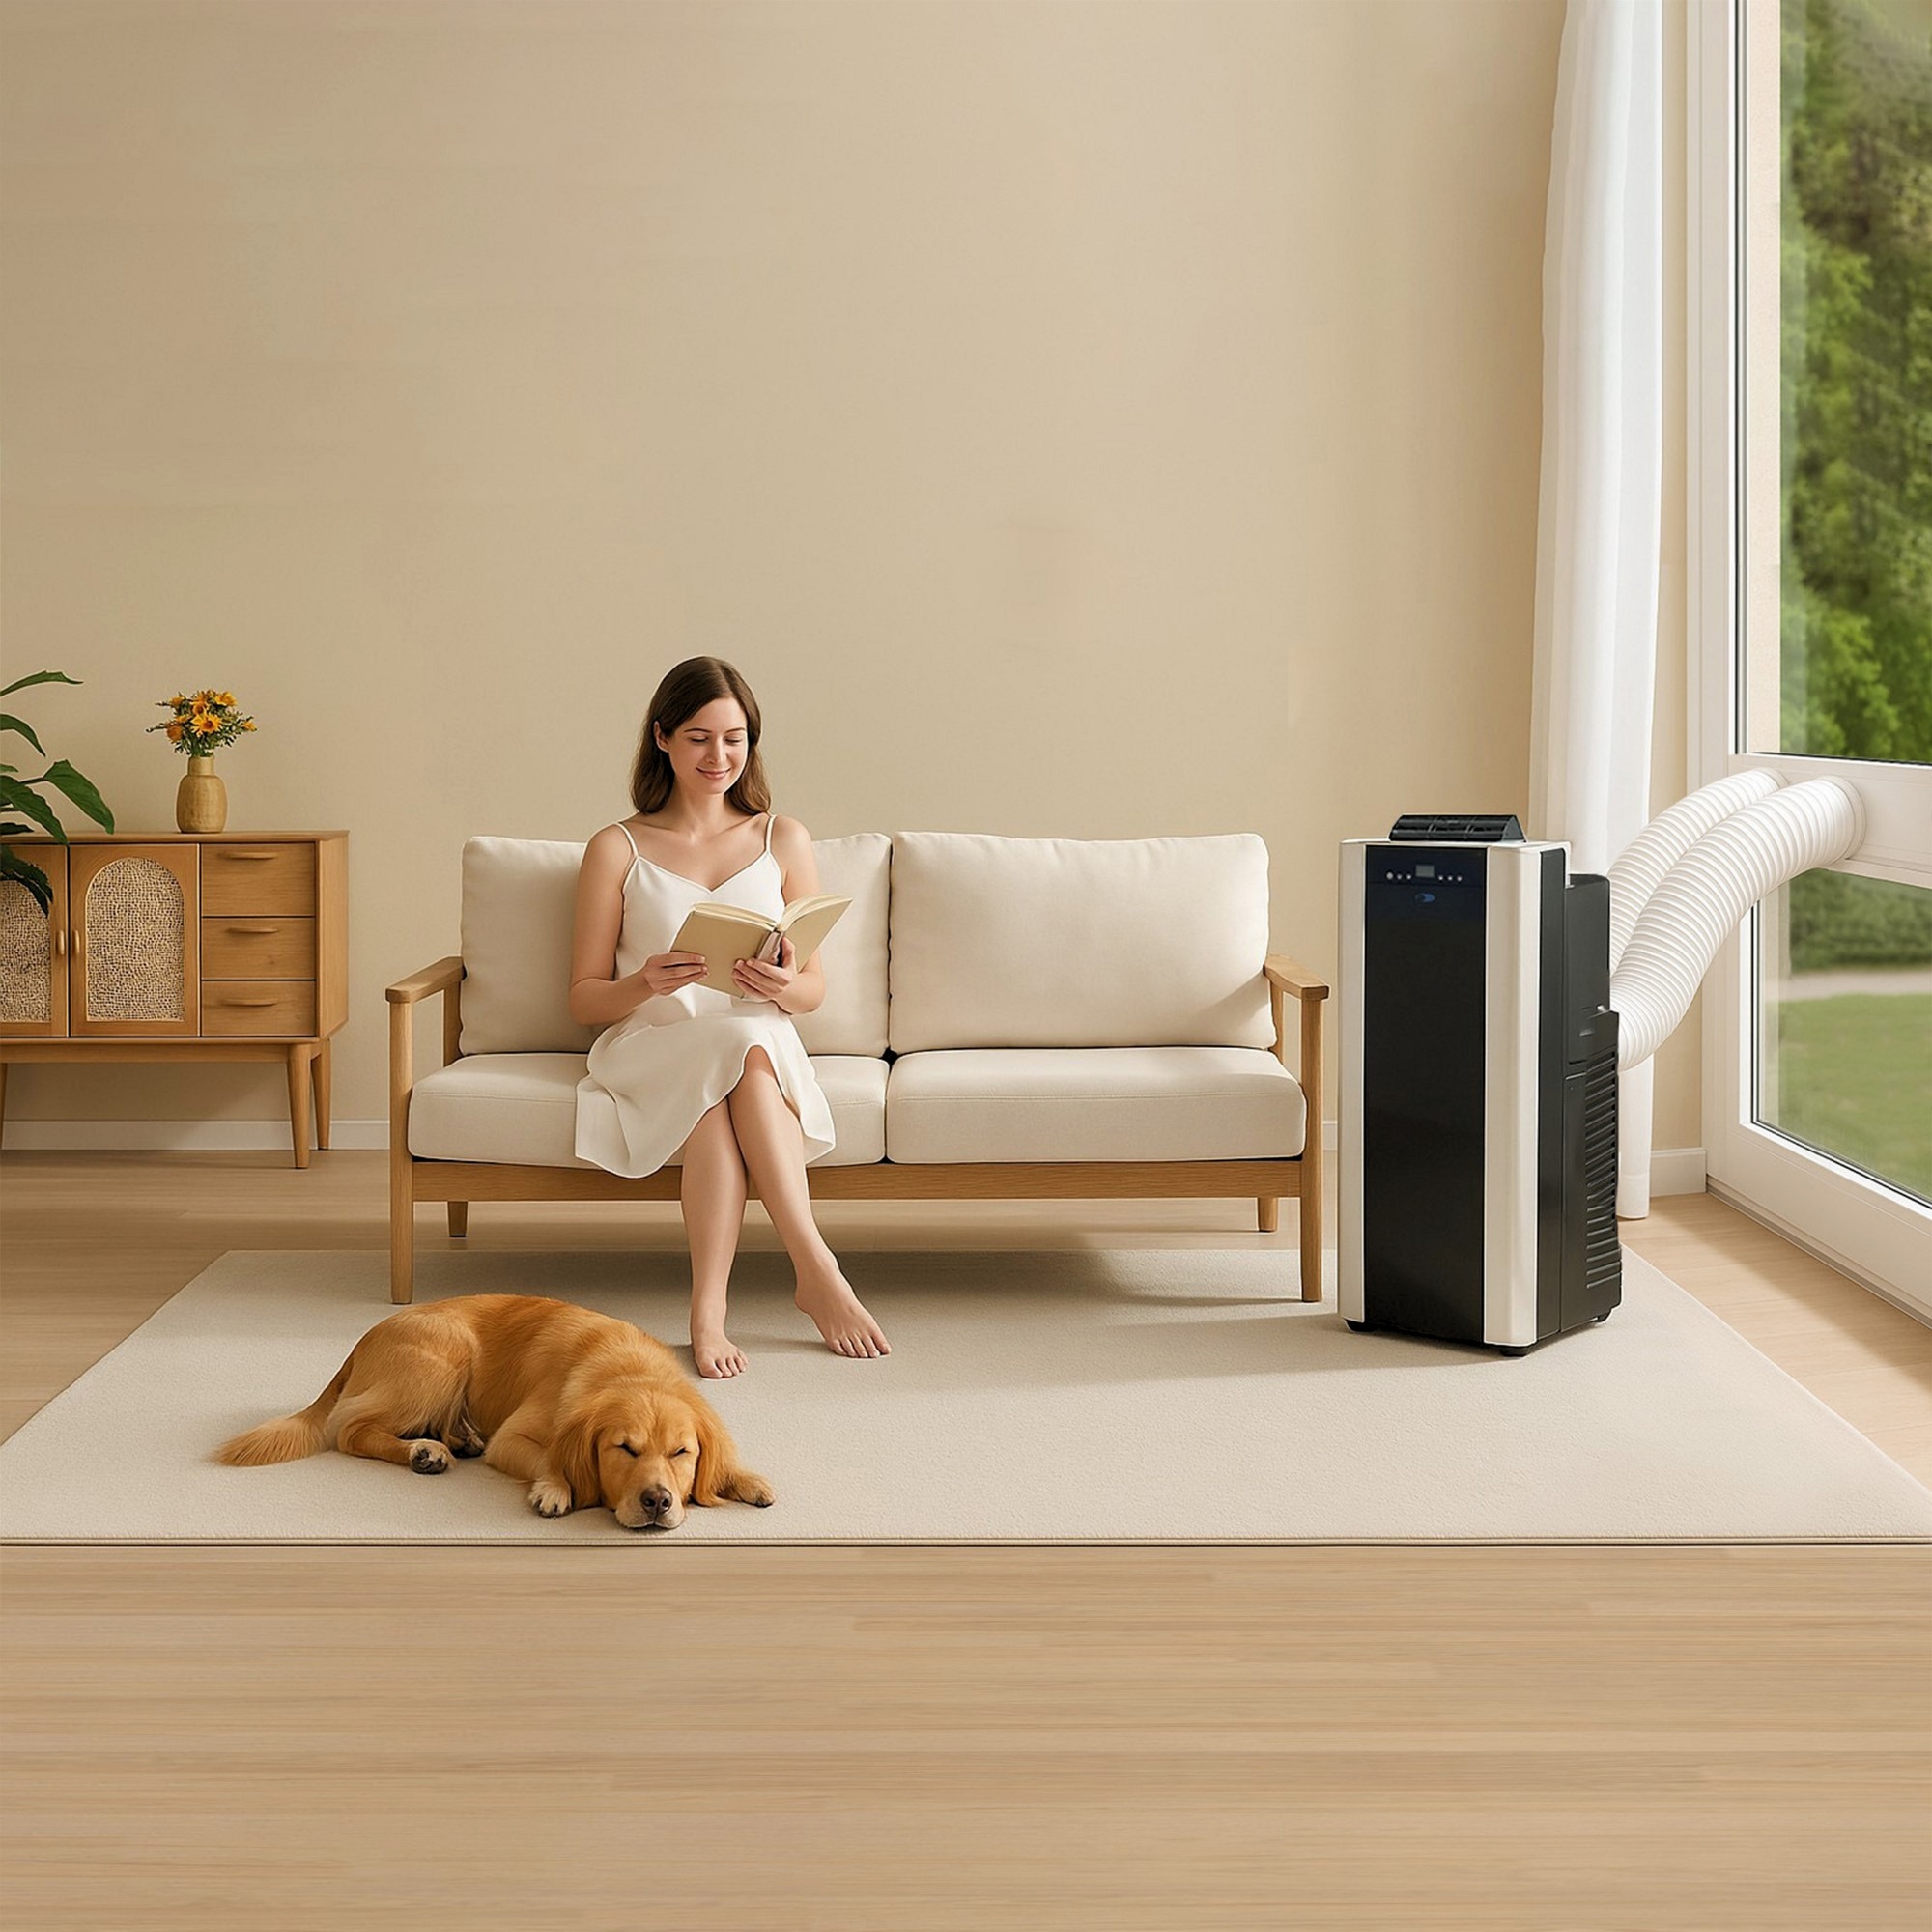
Why Venting Your Portable AC Matters
A portable air conditioner works by pulling warm air from the room, running it over a refrigerant coil to cool it, and then exhausting the resulting hot air and moisture outside. Without a vent path to the exterior:
- The hot exhaust recirculates back into the room, undoing the cooling effect.
- The unit has to work harder, driving up electricity use.
- Excess humidity has nowhere to go, making the room feel muggy.
Bottom line: an unvented portable AC is no more effective than a fan. The exhaust hose is what makes it an air conditioner.
Step 1: Choose Your Window
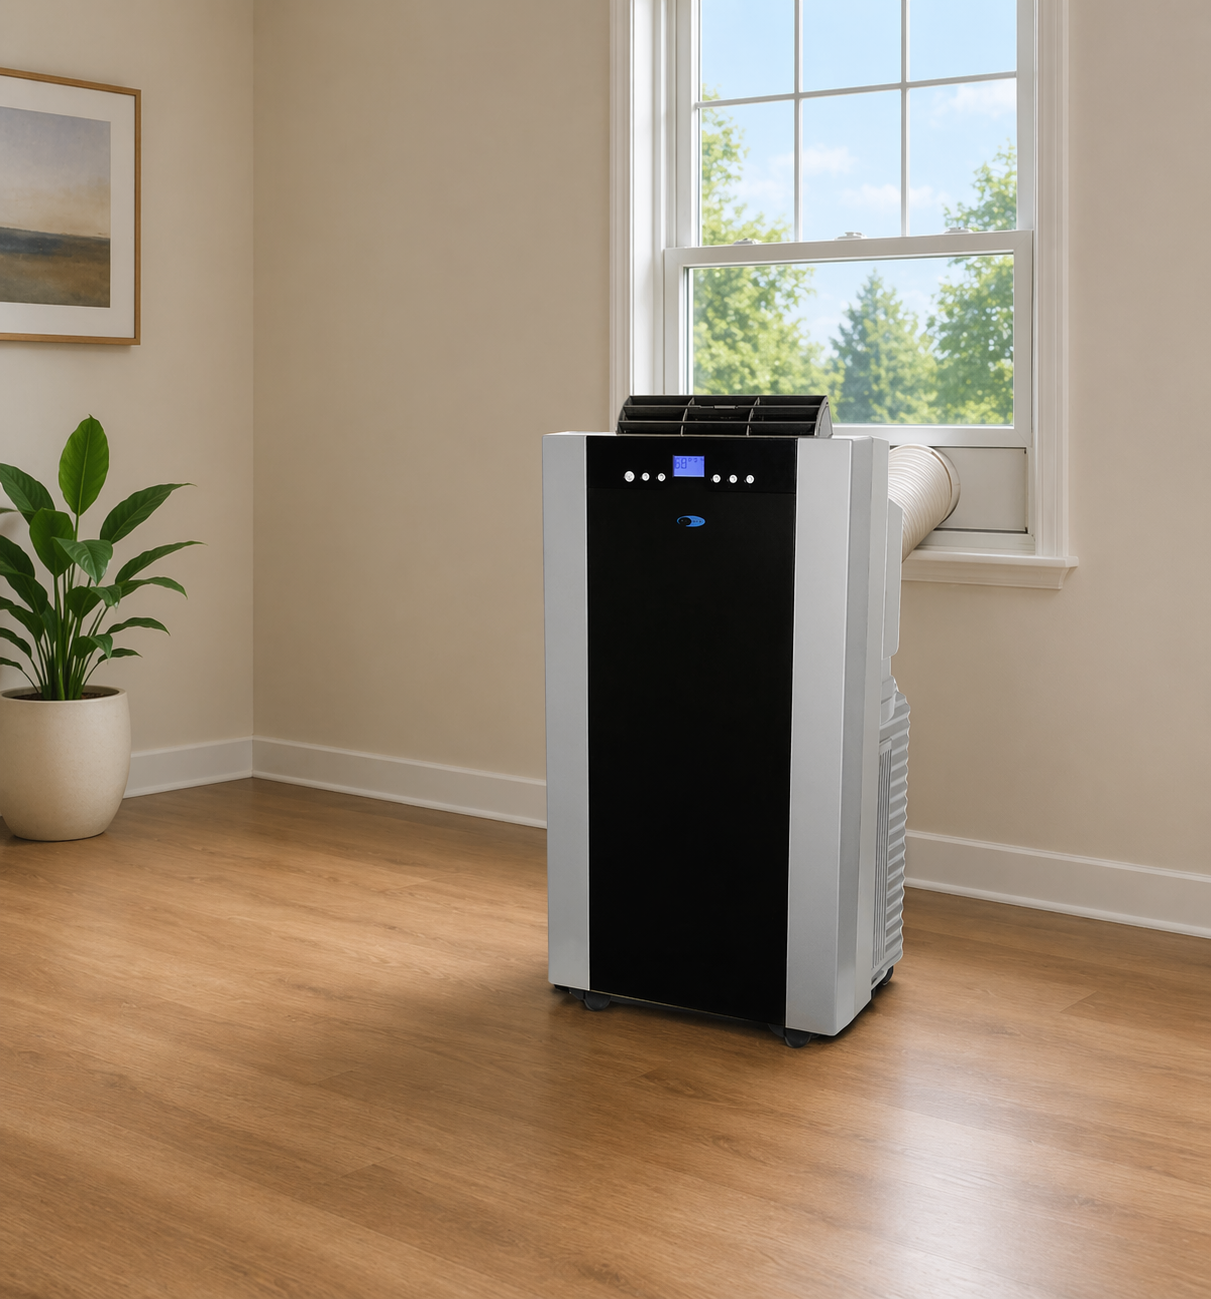
For standard setup, you just need a regular single- or double-hung window. Pick one that meets these three criteria:
- Near an outlet. The power cord is typically 6 feet, so the unit needs to sit close to a wall outlet. Avoid running extension cords.
- Out of direct sunlight. A window that gets full afternoon sun lets heat radiate back into the room and makes the unit work harder. A shaded or north-facing window is ideal.
- Away from heat sources. Keep the unit away from stoves, lamps, and electronics that generate heat, as these can skew the thermostat reading.
- At least 20 inches of clearance. The unit needs open space around it, especially at the air intake and exhaust ports, for proper airflow.
Step 2: Assemble the Window Kit
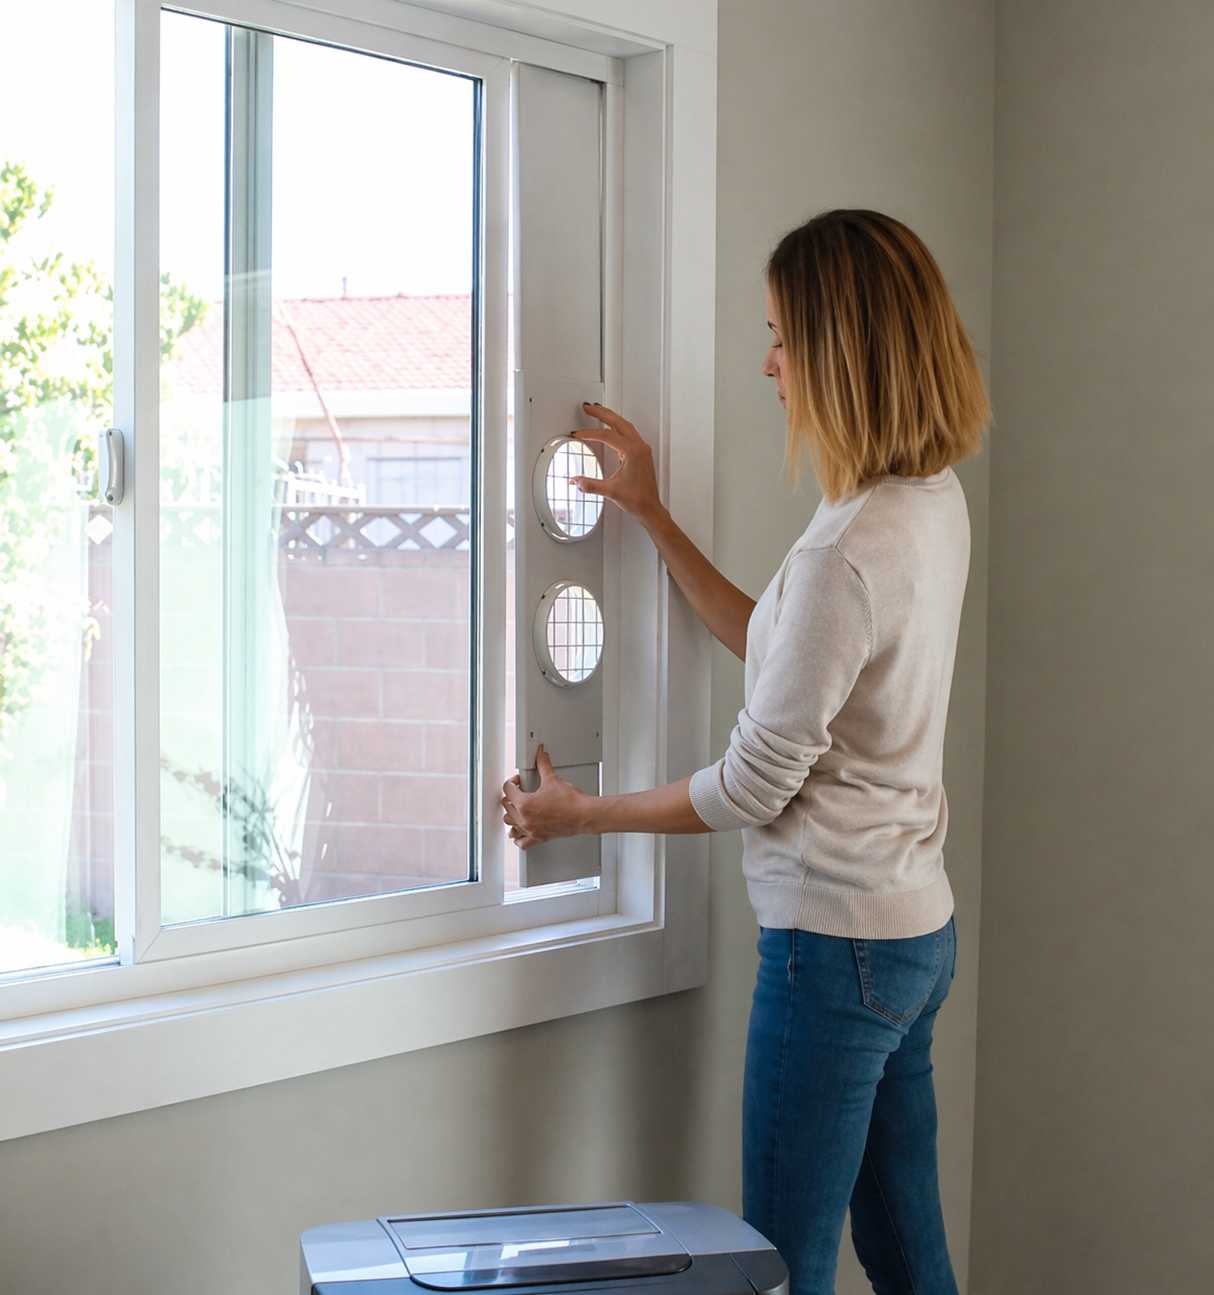
Extend the window kit panels to fit your window opening (vertical or horizontal) and secure the kit in the window track. Refer to your unit’s manual for detailed installation instructions, as steps vary depending on your window type and kit configuration.
If your kit includes foam strips or a security lock tab, install those once the kit is in place. If not, weatherstripping tape works well to seal any remaining gaps.
Step 3: Attach the Hose Connectors

Twist the hose connectors onto each end of the exhaust hose until they lock in place, as well as the connectors to the window kit. Refer to your unit’s manual for connector placement, as this varies by model. Dual-hose models will have two hoses and two sets of connectors.
Step 4: Connect the Exhaust Hose
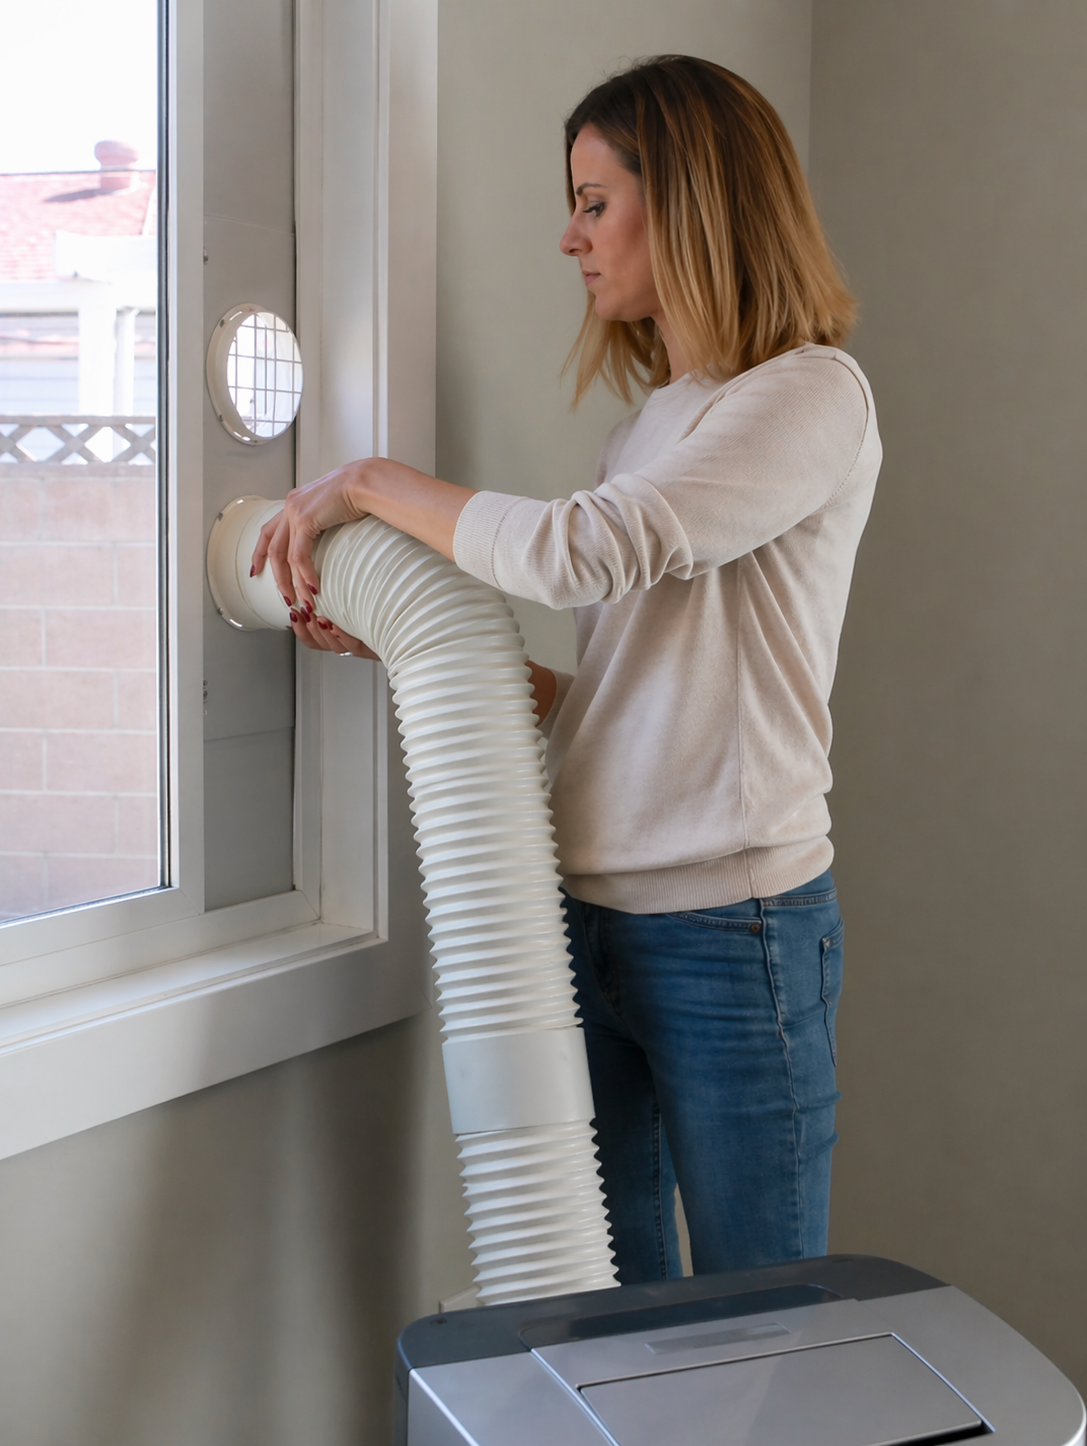
Attach one end of the hose to the exhaust port on the back of the unit and the other end to the connector on the window kit. For dual-hose models, connect the second hose to the intake port and the corresponding window connector. Keep both hoses as short and straight as possible — kinks and sharp bends reduce airflow.
The exhaust hose will feel warm during operation. That is normal. Do not extend it beyond the length specified in your manual.
Step 5: Power On and Test
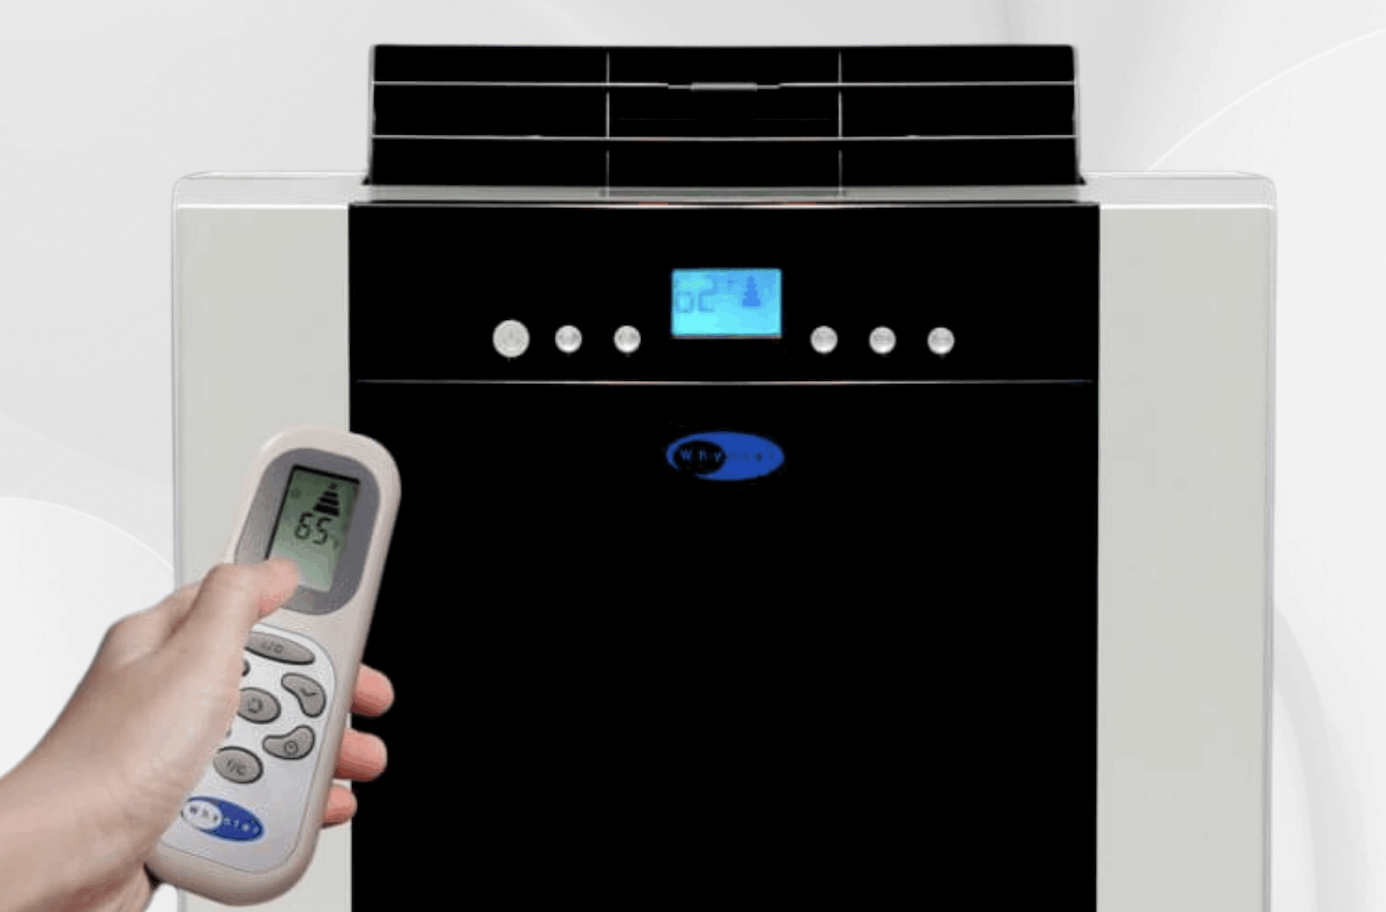
Plug the unit into a wall outlet, set the mode to COOL, and run the fan on HIGH for the first 10 to 15 minutes. Hold your hand near the window adapter — you should feel warm air exhausting outside. If you do not, check that both hose connections are fully seated.
Tips for Best Performance
Keep the hose short and straight.
Avoid sharp bends or twists, and do not extend the hose beyond 9 feet. The shorter and more direct the run, the more efficiently the unit exhausts heat.
Start cooling early.
Run the unit before the hottest part of the day. It will reach your target temperature faster and use less energy maintaining it.
Reduce heat sources in the room.
Close curtains and blinds to block direct sunlight, shut doors and windows, turn off unused lights, and avoid running the oven or stove while the AC is on.
Keep the filter clean.
A clogged filter reduces airflow and efficiency. Clean the washable pre-filter regularly, replace the activated carbon filter or antimicrobial every 2 to 3 months, and vacuum dust from around the vents.
Alternative Venting Options
If a standard vertical or horizontal window is not available, here are your next best options:
Sliding Glass Door
Most Whynter window kits extend up to 56″. If your door opening is larger, an additional kit can be purchased to extend the reach. Security note: the door cannot be fully locked with the kit in place, so add a door bar or pin for ground-floor installations.
Casement Window
Casement windows (the kind that crank open sideways) do not work with the standard kit. You can use a universal casement vent kit, or cut a piece of plexiglass to fill the opening and cut a hole for the hose adapter.
Drop Ceiling Tile
In offices or rooms with removable ceiling tiles, slide a tile aside or cut a hole in the tile and route the hose into the plenum space above. This only works if the space above is ventilated and connected to the exterior, not a sealed attic.
Through-Wall Installation
A hole can be cut into an exterior wall, and the window connector installed to connect the hose. We recommend hiring a contractor to assist with this project.
Troubleshooting Common Venting Problems
Problem: The window opening is larger than the kit’s maximum length
Solution: Pick up an additional window kit to bridge the gap. Alternatively, use weatherstripping or foam board to fill any remaining space on either side of the kit.
Problem: The window opening is smaller than the kit’s minimum length
Solution: Use a saw to trim the window kit panel to fit, being careful not to cut into the exhaust or intake ports.
Problem: The exhaust hose feels extremely hot
Solution: A warm exhaust hose is normal; a hose that’s too hot to touch may indicate a blockage. Check that both connections are fully seated and the hose isn’t kinked.
Problem: Air is leaking back into the room around the kit
Solution: Add weatherstripping or foam tape to any visible gaps. Pay special attention to the top edge of the window kit where the sash rests.
Find the Right Whynter Portable AC for Your Space
Whynter portable ACs are a powerful, affordable alternative to central air conditioning — built for every room size and designed to keep you cool all summer long.